As it claimed, Sony Vegas Pro 12 is the first native 4K XAVC editor. Sony Vegas Pro 12 and the latest version Vegas Pro 13 support a complete 4K workflow when you're working with 4K XAVC and XAVC S. Of course, working with 4K footage can be taxing on your computer, especially if you don't have the most powerful machine to edit on. From our tests it looks like Sony Vegas Pro 12/13 has to create a lower resolution proxy file to display in the NLE while you edit, so you have to wait for the proxy file to be created before you can edit any Panasonic HC-X1000 4K footage. In this process, it will cost some time.
Well, if you don't like the way, or have the old version of Sony Vegas Pro that doesn't support Panasonic HC-X1000 4K video, an alternative way is to transcode Panasonic HC-X1000 4K video with Acrok Video Converter and then import to Sony Vegas Pro directly. This video converter perfectly works as the Panasonic HC-X1000 4K to Vegas Pro Converter that helps you convert XAVC, XAVC S or any 4K footage to MPEG-2, which is the best format for Vegas to edit with ease. No expensive add-ons or plug-ins are required. With it, you may also convert Panasonic HC-X1000 4K video to Avid Media Composer, Adobe Premiere Pro, Windows Movie Maker, Pinnacle Studio and more NLE programs highly compatible formats for editing.
Download Panasonic HC-X1000 4K Video converter:


Converting Panasonic HC-X1000 4K video to work in Sony Vegas Pro
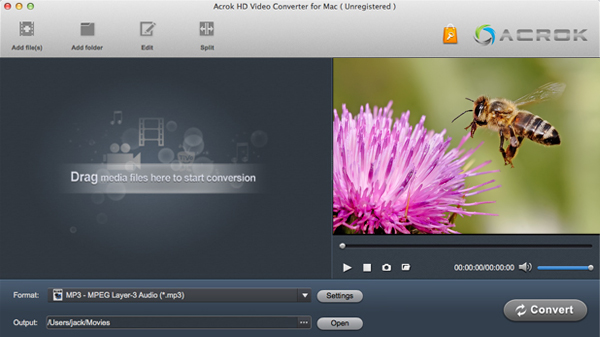
Step 1: Run the program you just set up. Drag and drop the Panasonic HC-X1000 4K footage to the best 4K video Converter. You can also hit Add footage button to import videos to the app. If you want to join the imported clips into one for easy editing, please tick the box "Merge into one" on the main interface.
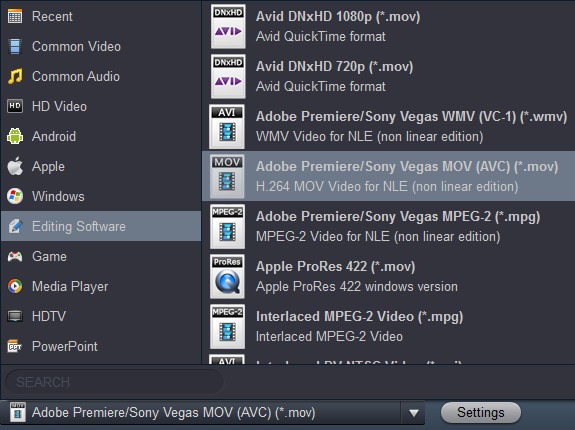
Step 2: Click on the Format box to get the dropdown menu. Select Adobe Premiere/Sony Vegas MOV(AVC)(*.mov) as output format.
Step 3: Adjust video and audio parameters, including the Bitrate of Video and Audio, the Codec of Video and Audio, Video Size, Sample Rate, Frame Rate, Audio Channels, etc., in the Profile Settings to get 4K files converted for working with Vegas Pro smoothly. You'd better adjust original Panasonic HC-X1000 4K video to HD quality.
Step 4: Click the Convert button to start converting Panasonic HC-X1000 4K footage for Sony Vegas Pro. After the process is completed, click “Open” button to find the generated videos, and then you can transfer and edit the Panasonic HC-X1000 4K video in Sony Vegas easily and quickly.Please enjoy it and have a try.
You may need these posts:
Watch Blu-ray movies on LG Smart TV/OLED TV via USB Flash
Drive
How to watch Blu-ray movies on iPhone 6S Plus
Free download MXF Converter - Convert MXF files on Mac
Play FLAC music in car stereo via USB flash drive
Import Canon XA10 1080P video into Premiere Pro CC/CS6
How to get iTunes on Samsung Galaxy Note 5
Watch iTunes movies on 4K TV via USB Flash Drive
Free download MTS Converter - Converter MTS files on Mac
Covnert M4A and APE music to car stereo supported formats
Import MXF video to Premiere Elements native format
No comments:
Post a Comment